PythonとFlaskを使って、GoogleのOpenID Connectと通信してユーザ情報を取得する方法について説明します。
手順
User   RelyingParty    IDProvider   UserInfo
 |          |               |          |
 | login    |               |          |
 |--------->|               |          |
 | redirect |               |          |
 |<---------|               |          |
 |          |               |          |
 |          :               |          |
 |       auth_request       |          |
 |------------------------->|*1        |
 |      login_to_Google     |          |
 |<------------------------>|          |
 |         redirect         |          |
 |<-------------------------|          |
 |          :               |          |
 |--------->|               |          |
 |          | token_request |          |
 |          |-------------->|*2        |
 |          |     token     |          |
 |          |<--------------|          |
 |          |                          |
 |          |--+                       |
 |          |  |verify                 |
 |          |<-+                       |
 |          |      request_profile     |
 |          |------------------------->|*3
 |          |        user_profile      |
 |          |<-------------------------|
 |          |                          |
- User はアプリケーション利用者で、Googleアカウント所有者です。
- Relying Party(リライングパーティ)はアプリケーションです。
- ID Provider(IDプロバイダ)
-
*1は認可エンドポイント (Authorization Endpoint)。Userはブラウザ画面でGoogleにログインします。 -
*2はトークンエンドポイント (Token Endpoint)。アプリケーションが認可エンドポイントから受信したcodeを利用してトークンを取得します。
-
- User Info
-
*3はユーザ情報を返すエンドポイント。アプリケーションがとークンエンドポイントから受信したid_tokenを利用してユーザ情報を取得します。
-
事前準備
- Google Cloud Consoleにて新規プロジェクトを作成し、公開ステータスを「本番」、認証情報のOAuth 2.0クライアントIDを作成し、承認済みのリダイレクトURIを設定します(今回は http://127.0.0.1:8000/callback)。
-
**********には与えられたIDやシークレットや通信内容に応じて設定します。
PythonとFlaskによる実装
Python/Flaskによる実装はGitHubにて公開しています。
※車輪の再発明は学習目的にのみ行います。実運用では公式のライブラリなどを利用します。 Pythonの場合は次のライブラリを利用しましょう:googleapis/google-api-python-client: 🐍 The official Python client library for Google's discovery based APIs.
(1) ブラウザで以下のページにアクセスする(認可エンドポイントへのアクセス)
Googleログイン画面へのURLを用意して、アクセスさせる:
https://accounts.google.com/o/oauth2/v2/auth?client_id=929**********bro.apps.googleusercontent.com&response_type=code&scope=openid%20profile&&redirect_uri=https://127.0.0.1/callback&state=0123&nonce=4567
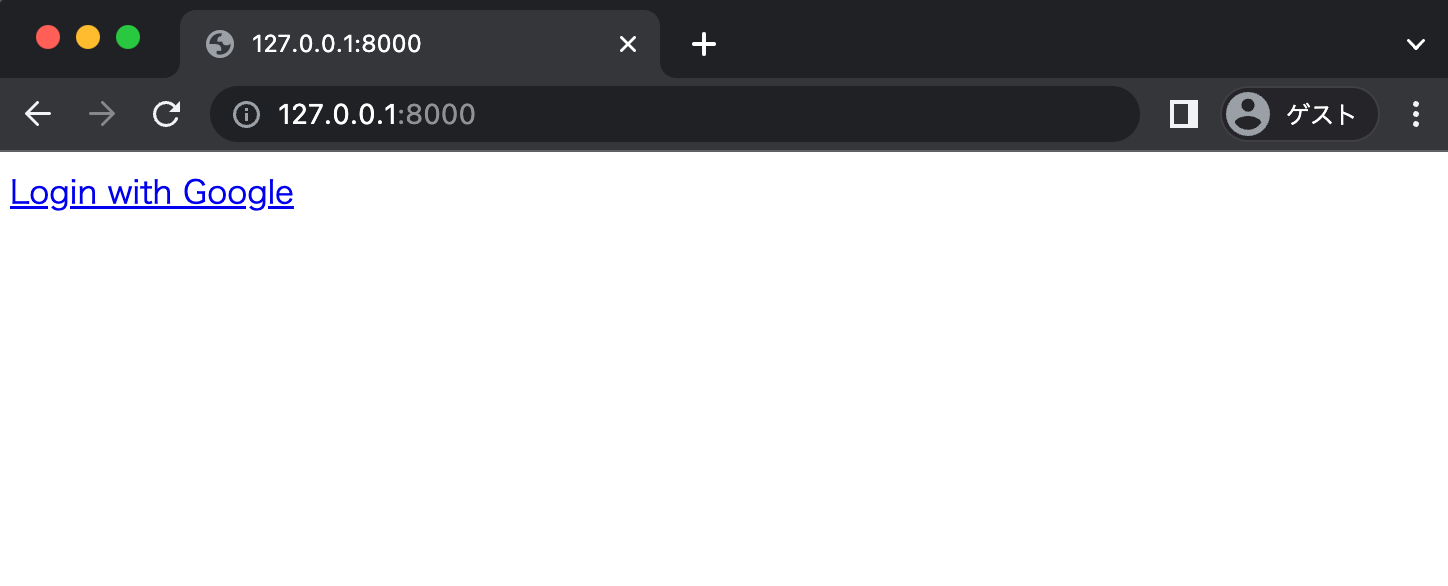
「Login with Google」を押下する。
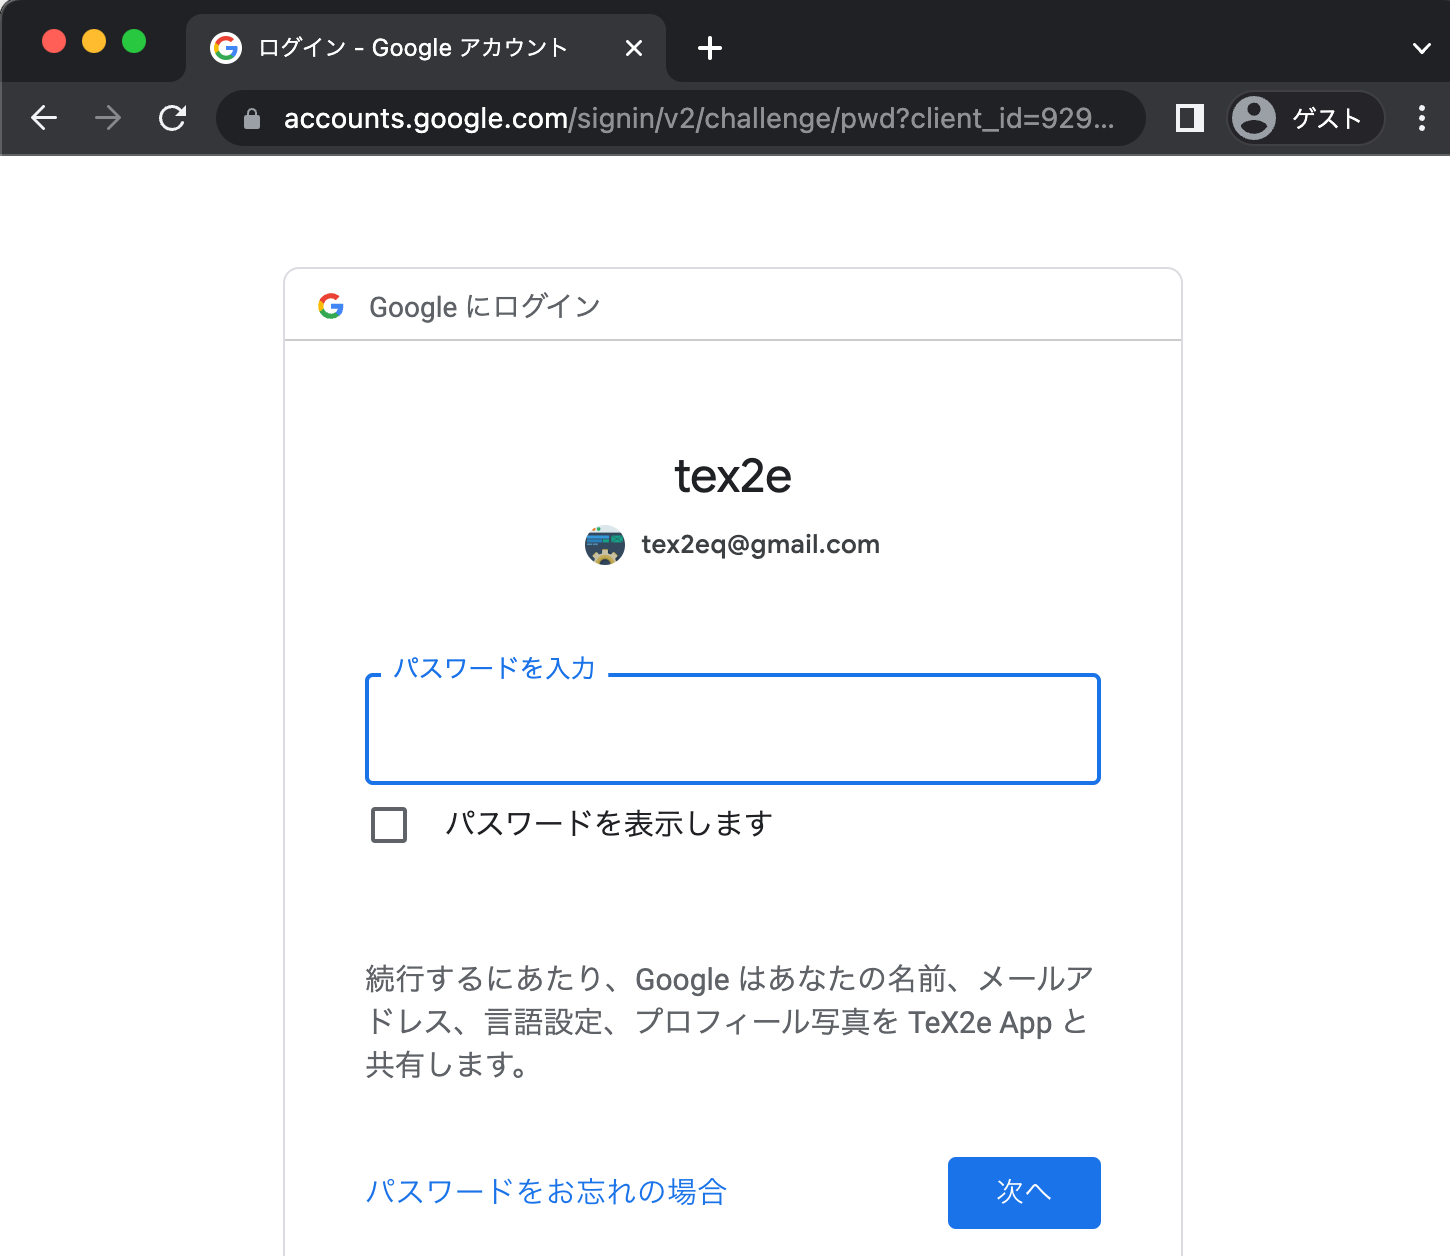
(2) Googleアカウントでログインすると以下URLにリダイレクトする
Googleでログイン後のリダイレクト先:
https://127.0.0.1/callback?code=4%2F0A**********ALg&scope=profile+openid+https%3A%2F%2Fwww.googleapis.com%2Fauth%2Fuserinfo.profile&authuser=1&prompt=consent
(3) トークンエンドポイントへのアクセス
Webサーバ側でGoogleのトークンエンドポイントと通信します。
リクエスト:
curl -v -X POST \
-d "client_id=929**********bro.apps.googleusercontent.com" \
-d "client_secret=***********************************" \
-d "redirect_uri=https://127.0.0.1/callback" \
-d "grant_type=authorization_code" \
-d "code=4%2F0A**********ALg" \
https://www.googleapis.com/oauth2/v4/token
レスポンス:
{
  "access_token": "ya29.A0**********63",
  "expires_in": 3599,
  "scope": "https://www.googleapis.com/auth/userinfo.profile openid",
  "token_type": "Bearer",
  "id_token": "eyJ**********ifQ.eyJ**********DF9.bui**********7Hg"
}
(4) JWT解析
トークンエンドポイントのレスポンスのid_tokenはJWT形式なので、Base64デコードして内容を検証します。
{
  "alg": "RS256",
  "kid": "fda1066453dc9dc3dd933a41ea57da3ef242b0f7",
  "typ": "JWT"
}
{
  "iss": "https://accounts.google.com",
  "azp": "929**********bro.apps.googleusercontent.com",
  "aud": "929**********bro.apps.googleusercontent.com",
  "sub": "104650147220769694403",
  "at_hash": "nw7QKWVVCnkxWvhgYnpi8A",
  "nonce": "4567",
  "name": "tex2e",
  "picture": "https://lh3.googleusercontent.com/a-/AFdZucpyZ9viFBC0DmLcdDYiXj78GpmnTwSRLKKjrb2_=s96-c",
  "given_name": "tex2e",
  "locale": "ja",
  "iat": 1660020881,
  "exp": 1660024481
}
IDトークンの署名データ
IDトークン (id_token) のJWTには以下の情報が含まれています。
- sub : エンドユーザを識別するためのID (subject)
- iat : 発行日時 (issued at)
- exp : 有効期限 (expiration time)
- nonce : 認証リクエストに含まれるnonceと同じ値が含まれる。乱数を入れることでリプレイ攻撃を防ぐことができる
- aud : リライングパーティのクライアントID (audience)
- iss : IDトークンの発行者 (issuer)
- IDトークンの署名データ(リライングパーティがIDトークンの署名を検証することで、IDトークン入れ替え攻撃を防ぐことができる)
(5) UserInfoエンドポイントへのアクセス
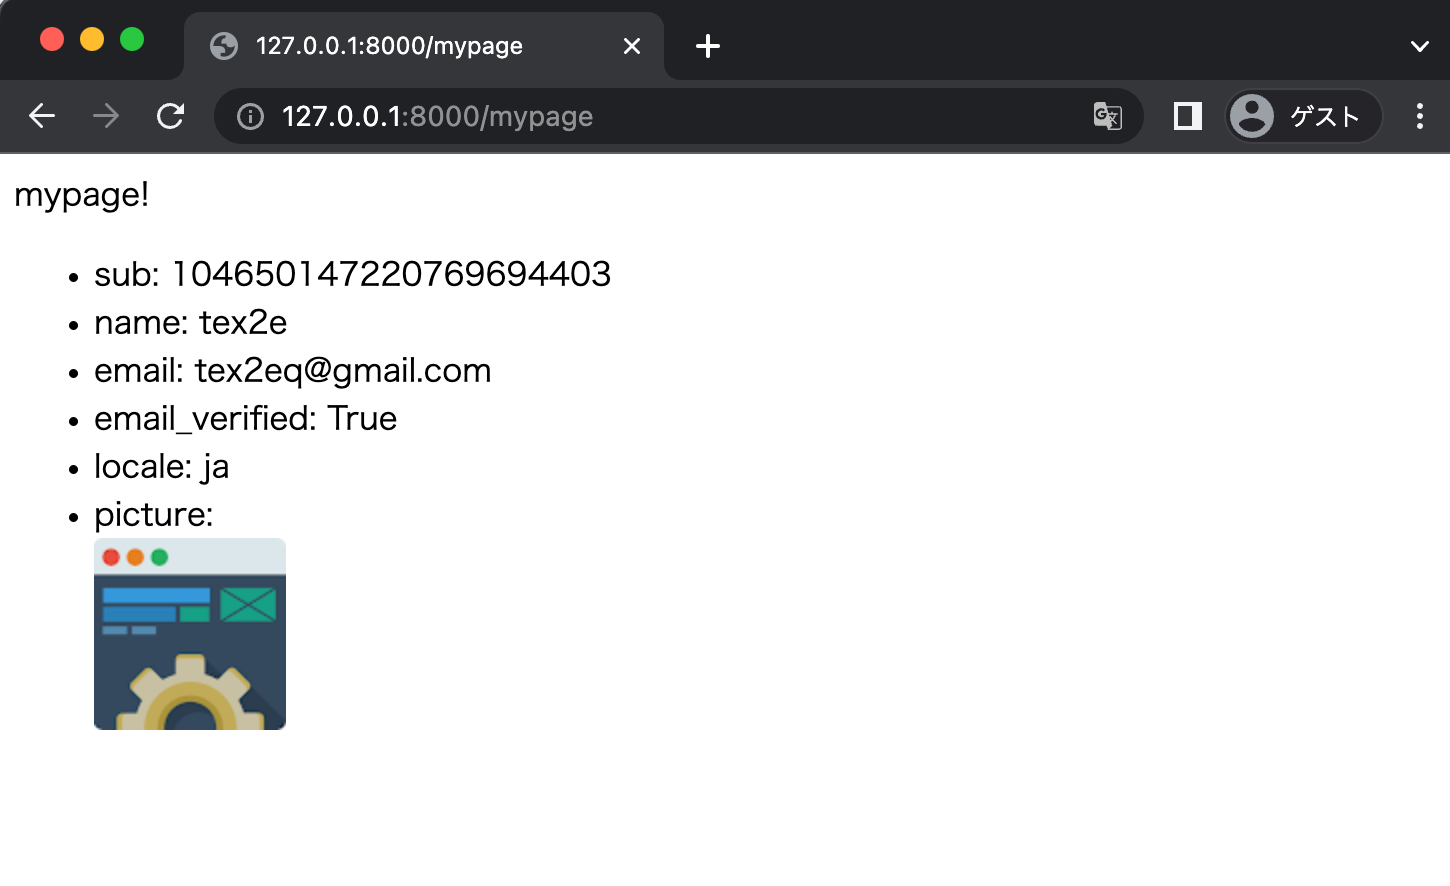
取得したアクセストークンを利用して、ユーザ情報を取得します。
curl \
-H 'Authorization: Bearer ya29.A0**********63' \
https://openidconnect.googleapis.com/v1/userinfo
レスポンス:
{
  "sub": "104650147220769694403",
  "name": "tex2e",
  "given_name": "tex2e",
  "email": "tex2eq@gmail.com",
  "email_verified": true,
  "picture": "https://lh3.googleusercontent.com/a-/AFdZucpyZ9viFBC0DmLcdDYiXj78GpmnTwSRLKKjrb2_\u003ds96-c",
  "locale": "ja"
}
取得した情報をブラウザで表示させます。 pictureのURLは一定時間経過すると400エラーになる点に注意が必要です。
OpenID Connectの検証に使用したWebページの実装をGitHubに上げましたので、必要に応じて参照ください。
tex2e/openid-connect-example: Google OAuth Example (For Study Purpose Only)
以上です。
参考文献
- https://developers.google.com/identity/protocols/oauth2/openid-connect
- Auth屋『OAuth、OAuth認証、OpenID Connectの違いを整理して理解できる本』